UV Map:
I was pretty rusty with this since the last model I unwrapped was the treasure chest from the last assignment, so it took a fair bit of time and effort to get this to look right.

It started out well, everything was going as planned and even though those diagonal lines I mentioned earlier were still showing up on the UVs, they didn't seem to be causing any problems so I left them as is and continued unwrapping.

This ended up being the UV map for the Driver Carriage. The window sill edges weren't included here as I did them later. The carriage roof didn't seem to want to break and relax correctly, so I had to compromise by separating a lot of the polys to make it work. Obviously this could have been done more efficiently, but I was okay with my work on this.
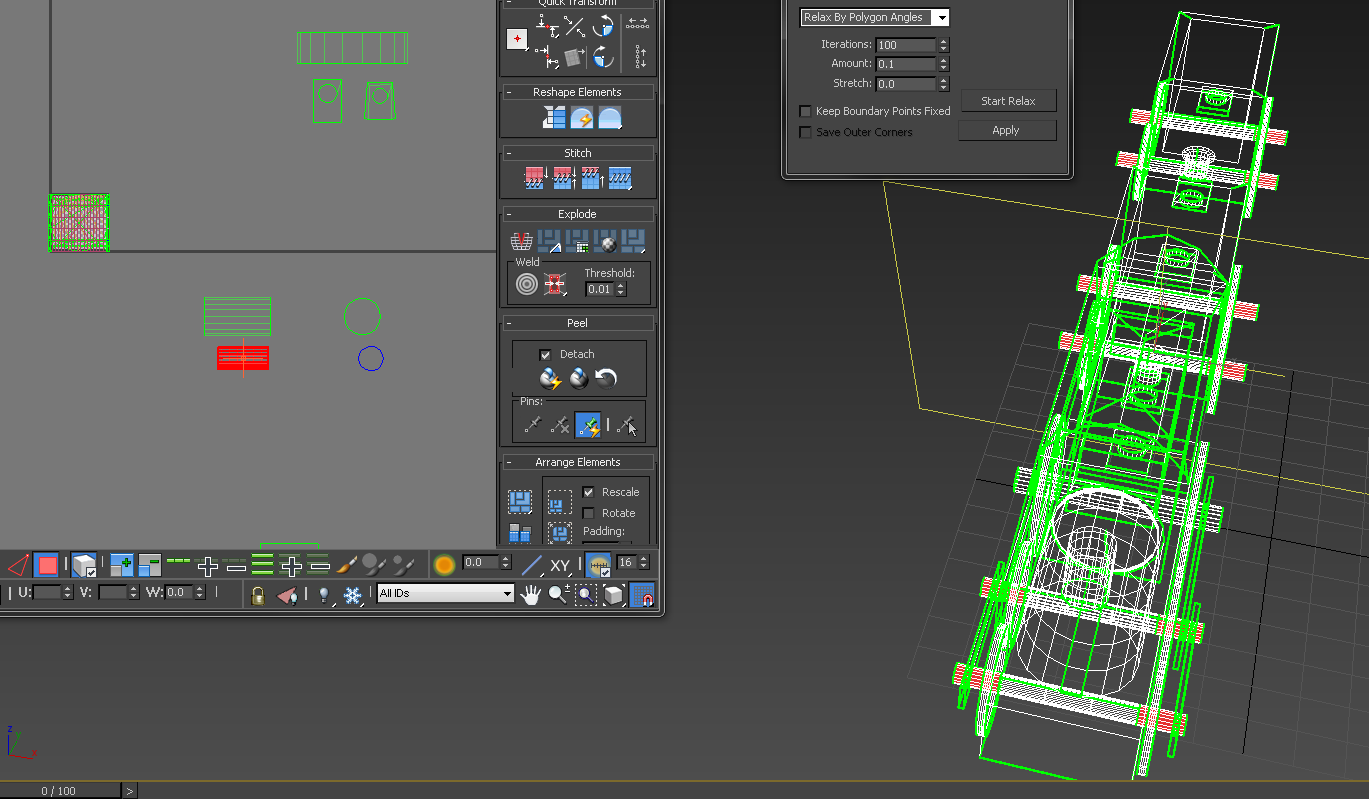
When it came to the wheel rods and the train front cylinders, I wasn't entirely sure how to unwrap those properly. So at first I tried to break and relax all of the long edge lines, and project the UV from the view of the train's front. The end result was a spiderwebbed circle shape, and a half-circle one as well for the large front cylinder (due to the fact that the bottom polys on the cylinder were hidden and I assumed I could unwrap it without those polys selected).

After a lot of frustration and confusion, I eventually managed to unwrap and map the UVs in a way I thought would work correctly, and decided to move on to texturing.
That's when I realised something... I'd forgotten to apply a checker material to my model at the start, so all of my UVs would probably be completely wrong, how right I was.

Once I went back and applied the material to the objects, I realised how terrible my unwrapping was, and had to go back and fix everything. There were some parts that I just couldn't understand and fix, such as the sides of the back carts, and also the inner cart polys as well.
However, in order to fix the cylinders, I simply did two separate projections, one of the cylinder face, and one of the cylinder body itself side on.
After more time and frustration, I fixed my UVs and got to work on texturing them.

No comments:
Post a Comment