Carriages:

I realised that I also needed to think of how they would connect and move together in a line, so I added towbars that could link up with some kind of bolt/screw/pin that could be used to keep them together.
After this point, I decided that I didn't like how flat the Driver Carriage looked with those windows. I thought it was too flat, and in order to seem more realistic it had to have actual edges and substance. At first I wasn't sure how this could be achieved, and so I researched ways to get the look I desired, and was directed towards the use of Pro Booleans. (YouTube, 2011)

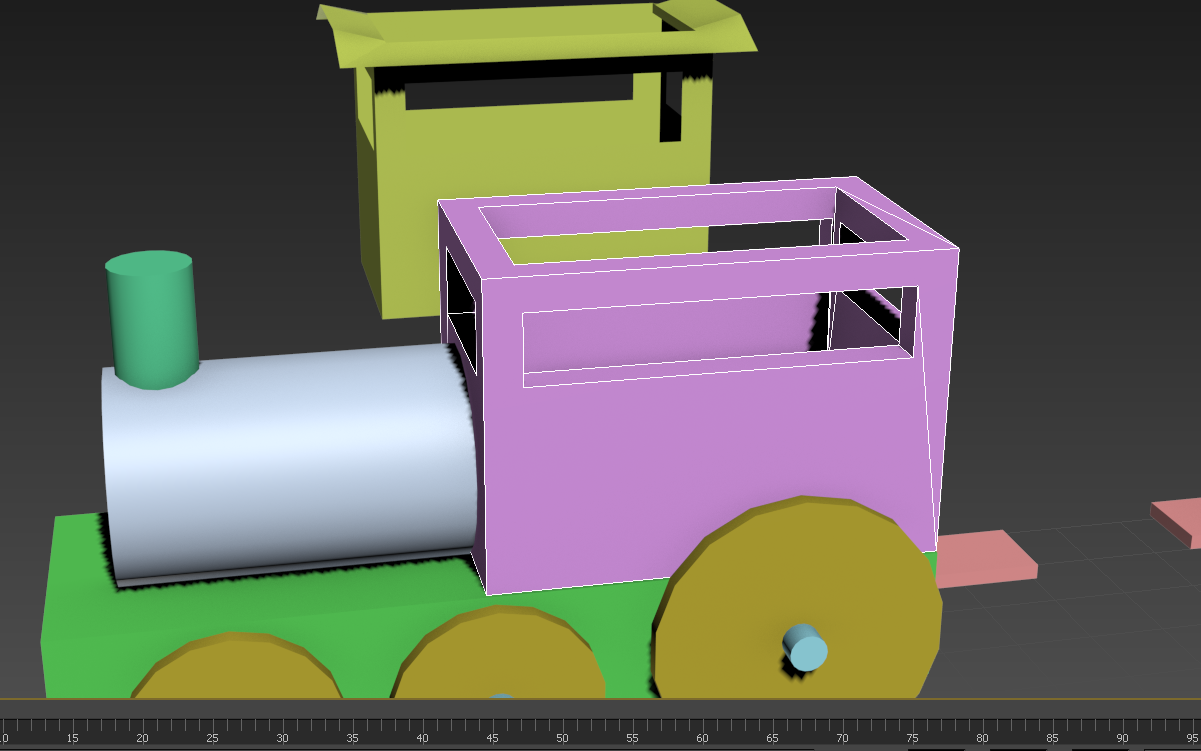 The only thing I had a problem with when it came to this method was that it left my UVs with an odd diagonal line coming from the bottom of the Driver Carriage box to a window corner. However, since it wasn't really affecting anything, I left it as it was.
----------------------------------------------------------------------------------------------------------------------------------
YouTube,. (2011). How to create 3d window in 3d max. Retrieved 12 August 2014, from https://www.youtube.com/watch?v=mZUlyig7vX8
No comments:
Post a Comment